|

| |
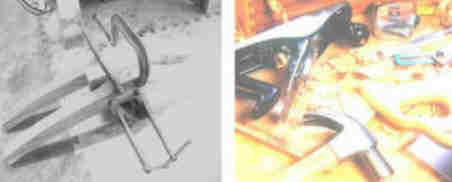
Pen Making Video
Interested in how a pen or wood gift is created? Watch the video
and read the work activity list below to find out.
Making a pen, step by step ( start to finish time about one day, actual work about
1.5 hrs. per pen )
- Obtain wood blank
- Cut wood blank to pen / gift style blank sizes, for a pen usually one or two blanks
approx. 3/4" x 3/4" x 3"
- Drill hole down through exact middle of blanks on drill press using
appropriate size drills for pen style
- Mix and spread epoxy into wood blank holes and onto pen brass tube
inserts
- Twist pen brass tube inserts into holes in the wood blanks, clean up epoxy squeeze
out
- Wait 24 hours for full epoxy cure
- Trim both ends of blanks exactly perpendicular to, and up to ends
of internal brass tubes using bench disk sander
- Remove dried epoxy from inside brass tubes using barrel trimmer on drill
press
- Place wood blanks on lathe mandrel with appropriate size pen style
sizing bushings
- Precision lathe turn wood blanks to pen style cap, band, and tip diameter
dimensions
- Precision lathe cut a tenon into the blank if required by pen style
- Lathe sand wood blanks to a smooth finish - 80, 120, 180, 240, 320, 400,
and 600 sandpaper grits in turn
- Repair any wood defects reveled by sanding, especially in burl wood type
blanks; resand again ( step 12 )
- Lathe burnish wood blanks using EEE Ultra Shine - provides up to 2000
sandpaper grit burnish
- Lathe finish wood blanks with multiple coats of High Build Friction
Shellac until mirror like finish
- Remove wood blanks from lathe mandrel
- Assemble pen mechanical parts into the finished wood blanks using a pen press
- Inspect pen assembly for any visual defects, test for smooth operation
of pen mechanism, and proper ink flow
- Clean / buff / Canabura wax polish finished pen assembly using buffing
wheels
|